Automating your garden’s watering process with an automatic irrigation system can save time, reduce water waste, and ensure your plants receive consistent moisture. This comprehensive guide will take you through everything you need to know about planning, installing, and maintaining an automatic irrigation system in your garden.

Benefits of Automatic Irrigation Systems
- Water Conservation: Optimizes water usage and reduces waste.
- Convenience: Saves time and effort by automating watering.
- Plant Health: Provides consistent and accurate watering, promoting healthy plant growth.
- Cost Savings: Reduces water bills and prevents over-watering.
Planning Your Automatic Irrigation System
- Assess Your Garden’s Needs
- Plant Types: Different plants have varying water requirements.
- Garden Layout: Consider the size and shape of your garden.
- Soil Type: Soil composition affects water absorption and retention.
- Choose the Right Irrigation System
- Drip Irrigation: Delivers water directly to the plant roots with minimal evaporation.
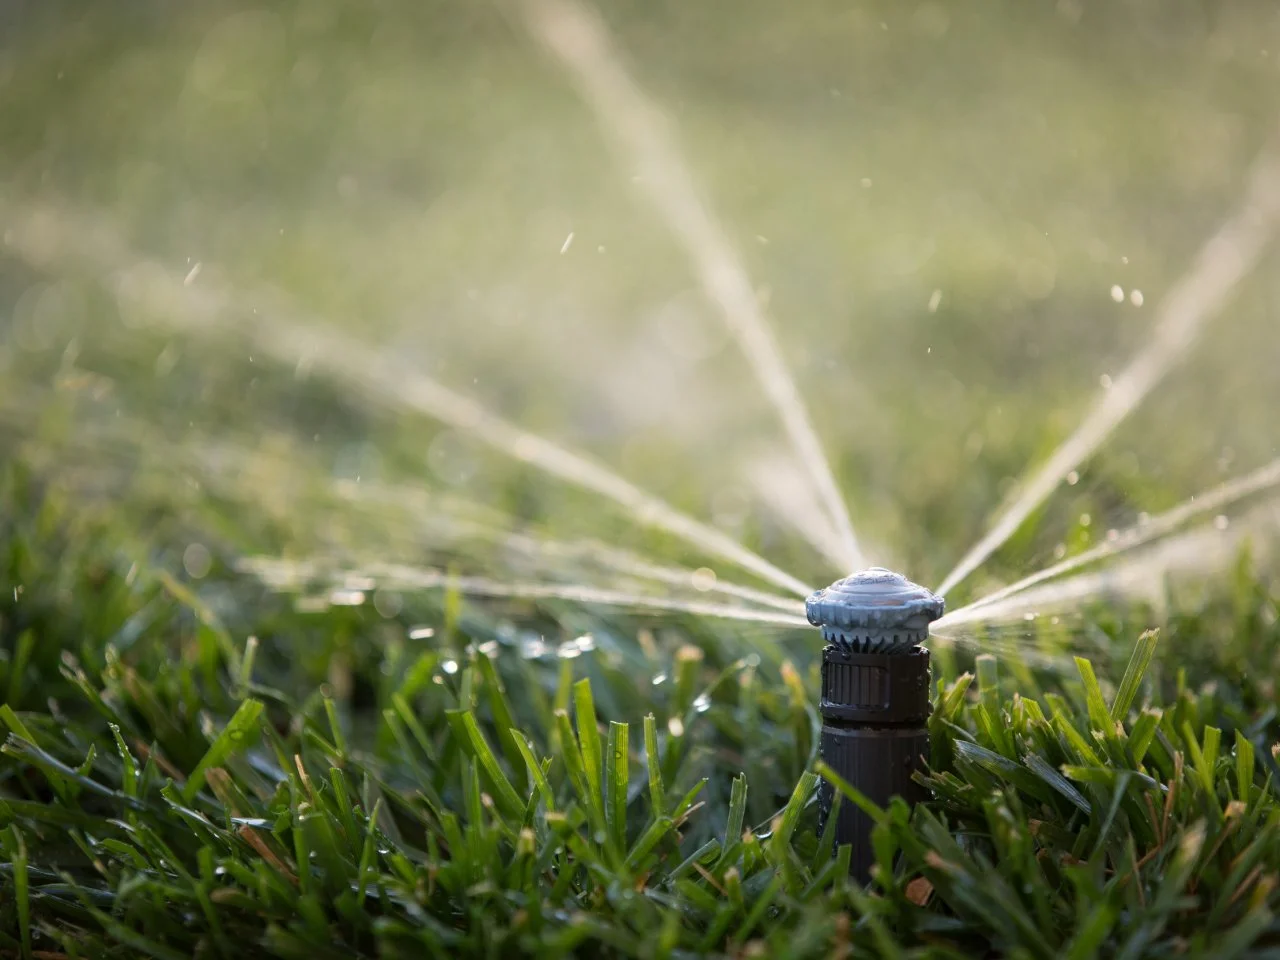
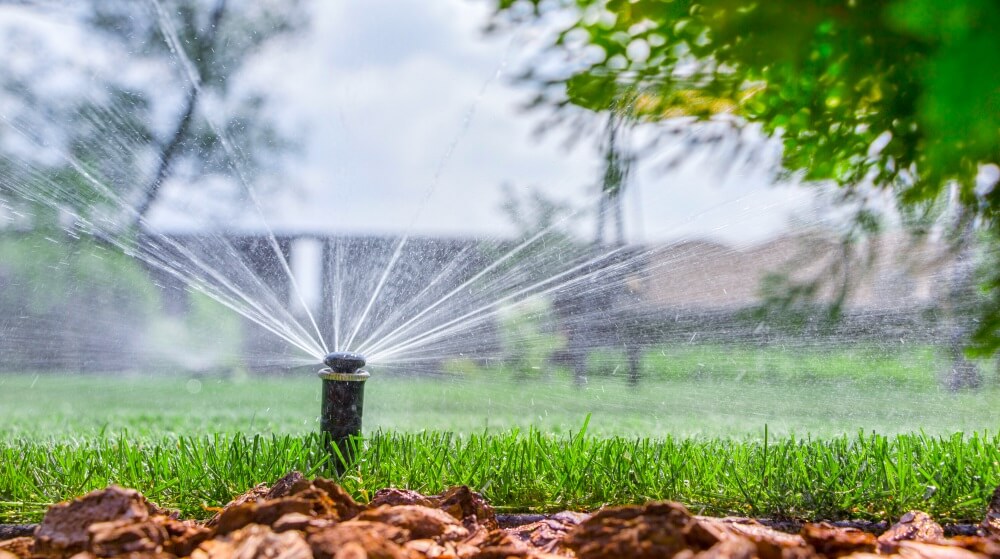
- Sprinkler System: Suitable for lawns and larger areas, providing broad coverage.
- Soaker Hoses: Efficient for garden beds and areas with dense planting.
- Design the Layout
- Zones: Divide your garden into zones based on plant types and watering needs.
- Water Source: Identify a convenient water source, such as a tap or rainwater harvesting system.
- System Components: Plan the placement of pipes, valves, and emitters.
- Gather Necessary Materials
- Main Components: Timer, valves, pipes, fittings, emitters, and pressure regulator.
- Tools: Shovel, pipe cutter, Teflon tape, and measuring tape.
Installing the Irrigation System
- Install the Timer and Controller
- Location: Place the timer near your water source and within reach of a power outlet.
- Programming: Set the watering schedule according to your garden’s needs.
- Lay Out the Main Supply Line
- Trenching: Dig trenches for the main supply line and lateral lines.
- Pipe Installation: Lay the main supply line in the trench and connect it to the water source.
- Install Zone Valves
- Placement: Install zone valves along the main supply line, one for each irrigation zone.
- Connections: Use Teflon tape on threads and secure fittings to prevent leaks.
- Lay Out and Connect Lateral Lines
- Trenching: Dig trenches for lateral lines branching off from the main supply line.
- Pipe Installation: Lay lateral pipes and connect them to zone valves.
- Install Emitters and Sprinklers
- Emitter Placement: Position drip emitters or soaker hoses near plant roots.
- Sprinkler Placement: Place sprinklers to ensure even coverage without overlapping.
- Connect the System
- Final Connections: Connect all pipes and fittings, ensuring a secure and leak-free system.
- Pressure Regulation: Install a pressure regulator if necessary to maintain optimal pressure.
Testing and Adjusting the System
- Initial Testing
- Turn On: Activate the system to check for leaks and proper operation.
- Check Coverage: Ensure all areas are receiving adequate water.
- Adjusting Emitters and Sprinklers
- Fine-Tuning: Adjust emitter flow rates and sprinkler angles for optimal coverage.
- Coverage Overlap: Ensure even water distribution without dry spots or over-watering.
- Programming the Timer
- Scheduling: Set watering times and durations based on plant needs and local weather conditions.
- Seasonal Adjustments: Modify the schedule seasonally to accommodate changing weather patterns.
Maintaining Your Irrigation System
- Regular Inspections
- Leak Checks: Inspect for leaks and damaged components regularly.
- Emitter Cleaning: Clean or replace clogged emitters and sprinkler heads.
- Seasonal Maintenance
- Winterization: Drain the system and protect components from freezing temperatures.
- Spring Setup: Reinspect and reassemble the system after winter.
- System Upgrades
- Technology Updates: Consider upgrading to smart controllers for improved efficiency.
- Expansion: Add new zones or components as your garden grows.
Troubleshooting Common Issues
- Uneven Water Distribution
- Causes: Clogged emitters, improper sprinkler placement, or low pressure.
- Solutions: Clean or replace emitters, adjust sprinkler placement, and check pressure.
- Leaks and Breaks
- Causes: Damaged pipes, fittings, or valves.
- Solutions: Locate and repair leaks, replace damaged components, and secure fittings.
- System Not Turning On
- Causes: Electrical issues, timer malfunctions, or valve problems.
- Solutions: Check power connections, reset the timer, and inspect valves.

Conclusion
Installing an automatic irrigation system in your garden is a practical and efficient way to maintain a healthy and beautiful landscape. By following this guide, you can design, install, and maintain a system that meets your garden’s unique needs, ensuring consistent watering and optimal plant growth.


