A stone pathway adds charm and functionality to any garden, providing a defined route for foot traffic while enhancing the aesthetic appeal. This comprehensive guide will walk you through the steps of planning, designing, and constructing a beautiful and durable stone pathway in your garden.

Benefits of a Stone Pathway
- Aesthetic Appeal: Enhances the visual interest and structure of your garden.
- Functionality: Provides a clear path, preventing soil compaction and protecting plants.
- Low Maintenance: Stone pathways are durable and require minimal upkeep.
Planning Your Stone Pathway
- Determine the Pathway’s Purpose
- Primary Path: Main walkways that connect major areas like the house, patio, and garden beds.
- Secondary Path: Smaller paths leading to specific features like a bench, birdbath, or vegetable patch.
- Decorative Path: Paths that meander through the garden, adding beauty and interest.
- Choose the Pathway Location
- Traffic Flow: Consider natural foot traffic patterns and existing garden features.
- Site Conditions: Assess the site’s slope, drainage, and soil type.
- Aesthetic Integration: Ensure the path complements the overall garden design.
- Select the Stone Material
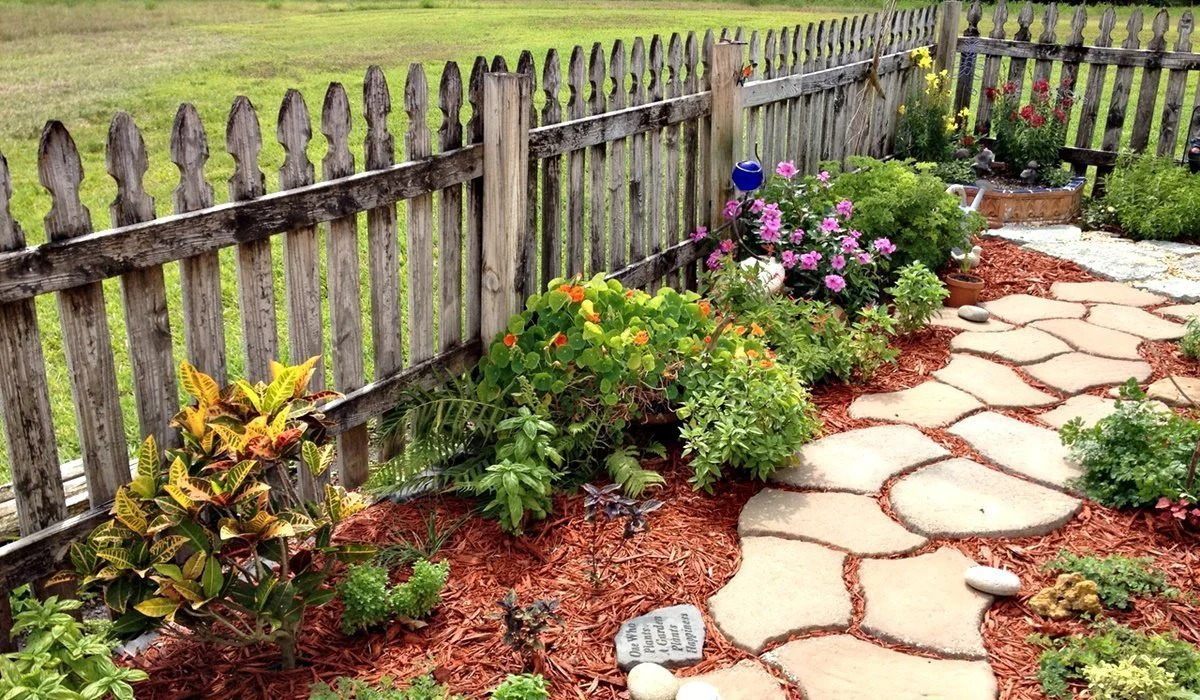
- Flagstone: Popular for its natural appearance and variety of shapes and colors.
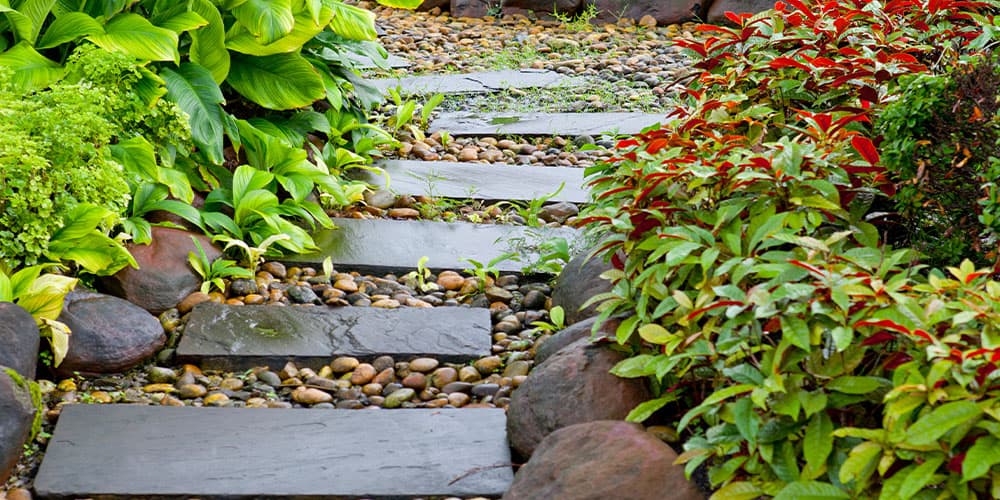
- Gravel: Inexpensive and easy to install, but may require more maintenance.
- Pavers: Uniform in size and shape, providing a clean and structured look.
- Cobblestones: Durable and classic, offering a timeless appeal.
- Measure and Mark the Pathway
- Width: Ensure the path is wide enough for comfortable walking, typically 3-4 feet.
- Layout: Use garden hoses or stakes and string to outline the path’s shape and direction.
- Adjustments: Make any necessary adjustments to the layout before proceeding.
Preparing the Site
- Clear the Area
- Remove Vegetation: Clear away grass, weeds, and any other vegetation along the pathway.
- Excavation: Dig down to a depth of 4-6 inches to create a stable base.
- Leveling: Use a rake to level the soil, ensuring a smooth and even surface.
- Install Edging
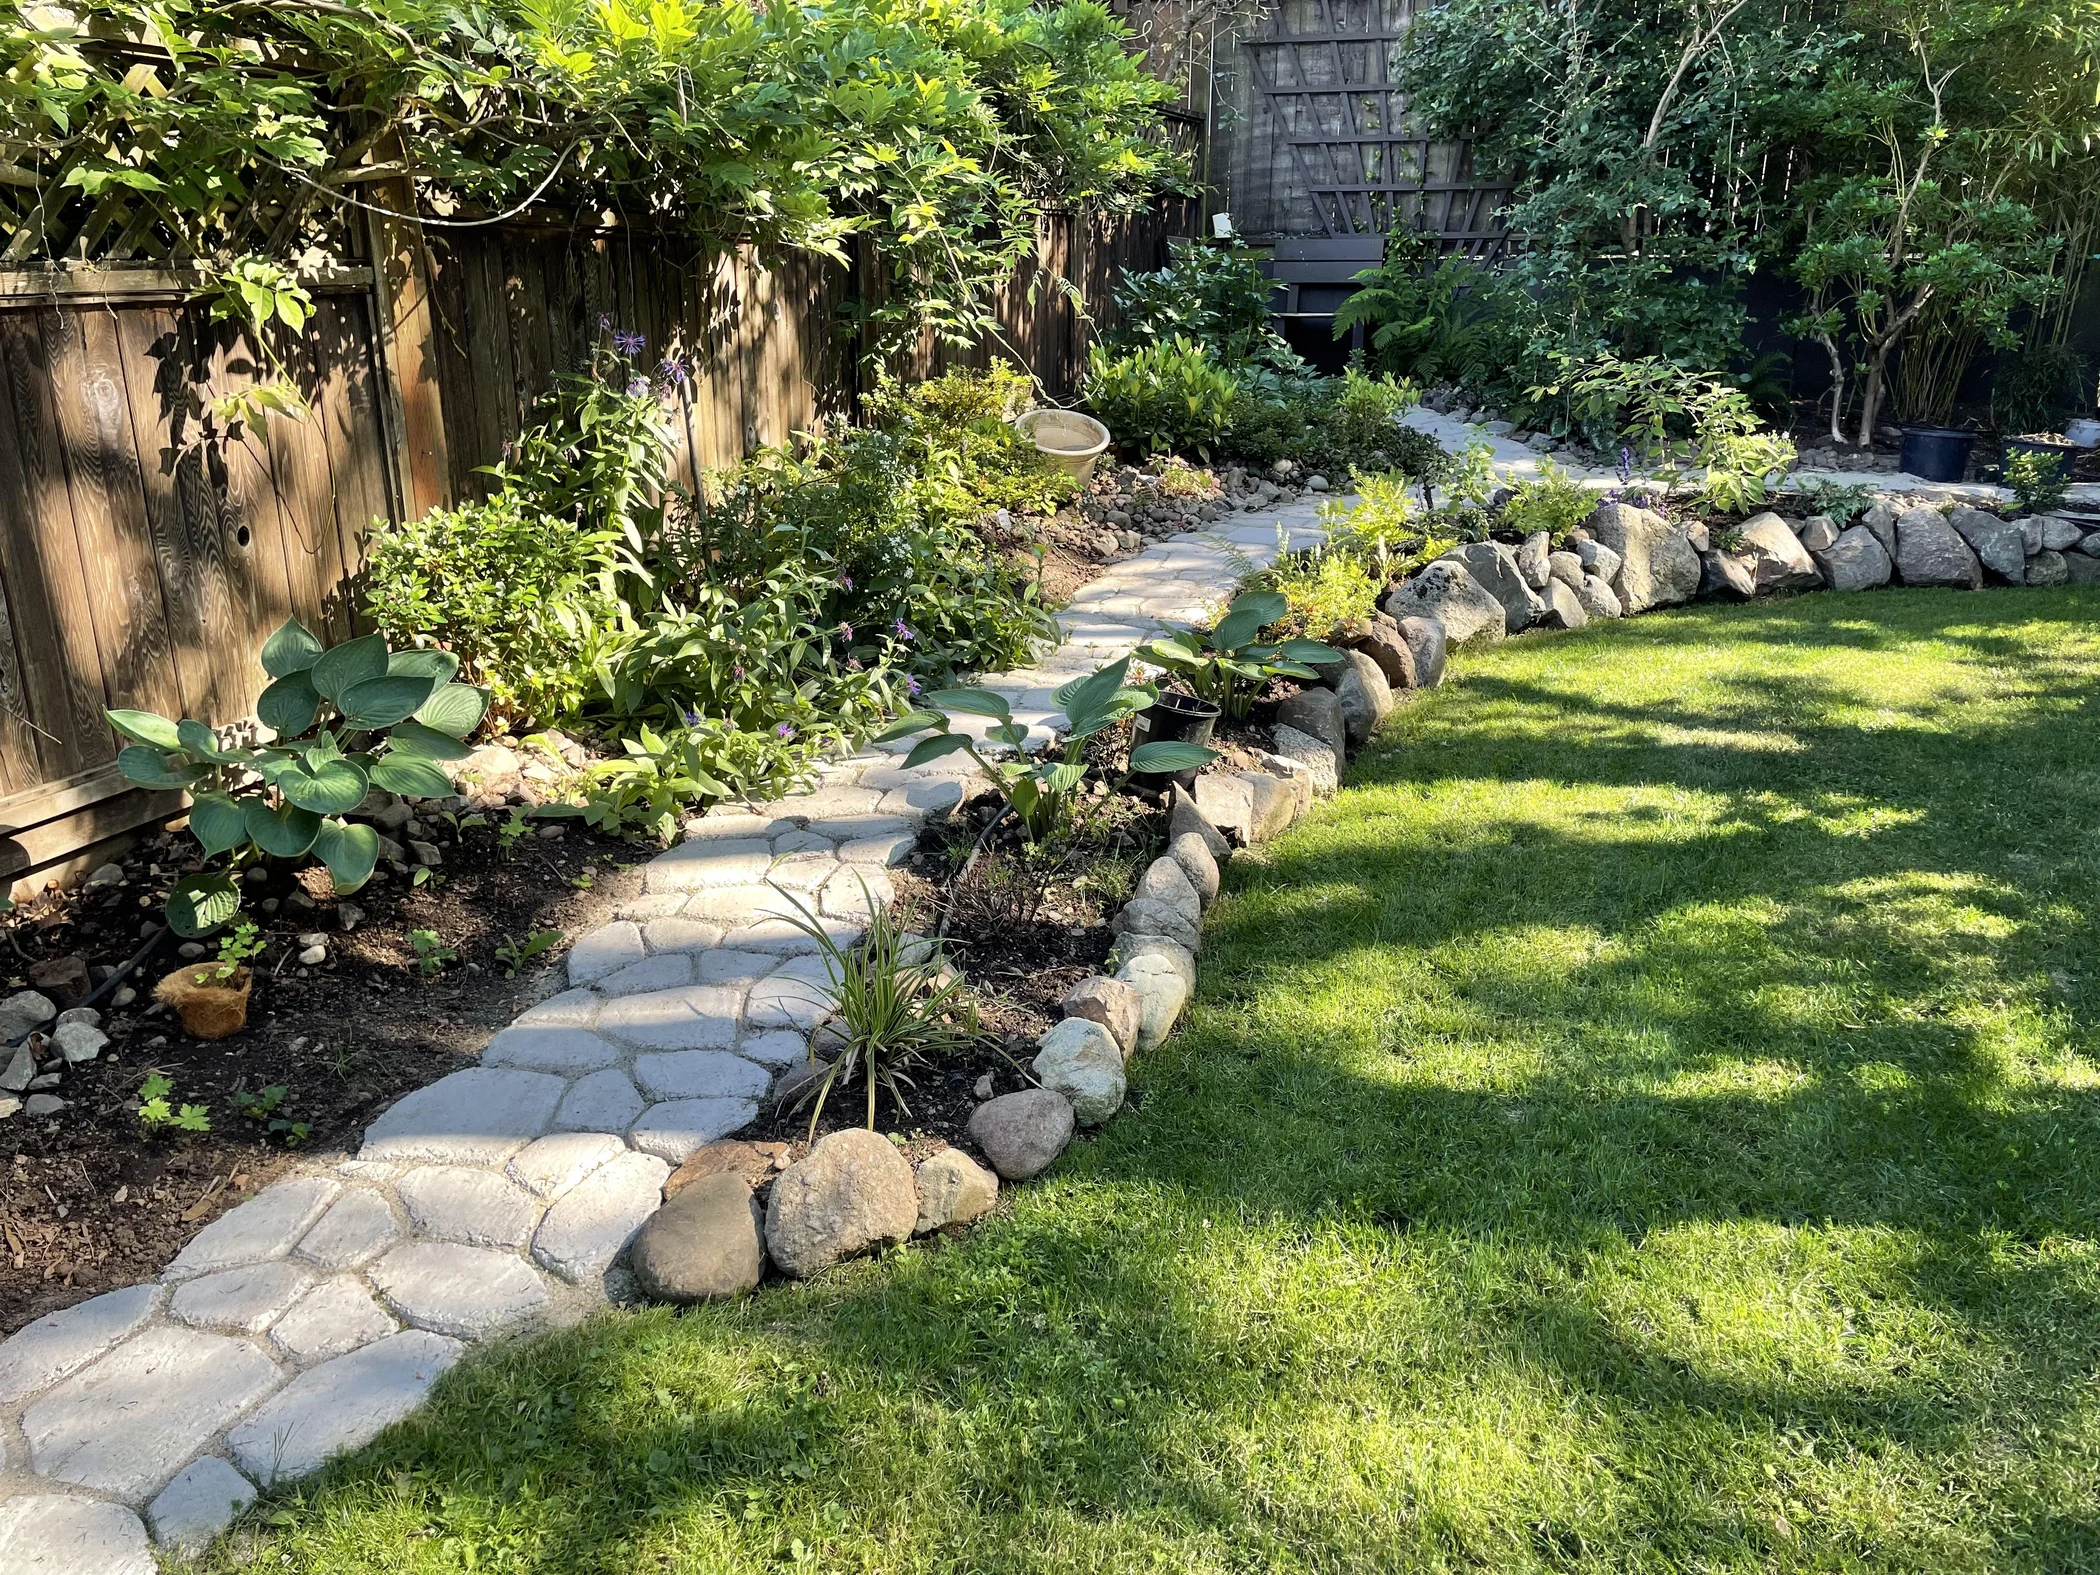
- Purpose: Edging helps contain the pathway material and maintain a clean edge.
- Materials: Choose from metal, plastic, wood, or stone edging.
- Installation: Secure the edging in place along the pathway’s perimeter.
- Create a Solid Base
- Gravel Base: Spread a 2-3 inch layer of crushed gravel to create a stable foundation.
- Compaction: Use a hand tamper or plate compactor to compact the gravel.
- Leveling: Check the base for levelness, adding or removing gravel as needed.
Laying the Stones
- Position the Stones
- Starting Point: Begin at one end of the path and work your way to the other.
- Placement: Lay the stones in the desired pattern, leaving small gaps for sand or gravel.
- Adjustments: Adjust the stones as needed to ensure an even surface.
- Secure the Stones
- Sand or Gravel: Fill the gaps between the stones with sand or gravel to stabilize them.
- Compaction: Use a rubber mallet to tap the stones into place, ensuring they are level and secure.
- Final Adjustments: Check the pathway for any uneven stones and make necessary adjustments.
Finishing Touches
- Fill the Joints
- Sand: Sweep sand into the joints between the stones, adding stability and preventing weed growth.
- Polymeric Sand: Consider using polymeric sand, which hardens when wet, for added durability.
- Watering: Lightly mist the pathway with water to settle the sand and secure the stones.
- Clean the Pathway
- Debris Removal: Remove any excess sand, gravel, or debris from the pathway surface.
- Sealing (Optional): Apply a stone sealer to enhance the color and protect the stones from staining.
- Landscaping Around the Pathway
- Plants: Add plants, flowers, or ground cover along the edges of the pathway for a natural look.
- Lighting: Install garden lights to illuminate the pathway and enhance safety and ambiance.
- Decorative Elements: Incorporate decorative elements like garden statues, benches, or birdbaths to complement the pathway.
Maintenance Tips
- Regular Cleaning
- Sweeping: Regularly sweep the pathway to remove dirt, leaves, and debris.
- Washing: Occasionally wash the stones with water and a mild detergent to maintain their appearance.
- Weed Control
- Prevention: Apply a pre-emergent herbicide or use landscape fabric to prevent weed growth.
- Removal: Pull any weeds that appear between the stones by hand or with a weeding tool.
- Stone Replacement
- Inspection: Periodically inspect the pathway for any damaged or loose stones.
- Replacement: Replace any stones that are cracked, broken, or have become unstable.

Conclusion
Building a stone pathway in your garden is a rewarding project that enhances both the functionality and beauty of your outdoor space. By following these steps and incorporating thoughtful design and maintenance practices, you can create a stunning pathway that will last for years to come. Enjoy the process and the lasting benefits of your new garden feature.


